EN
EN FR
FR PT
PT AR
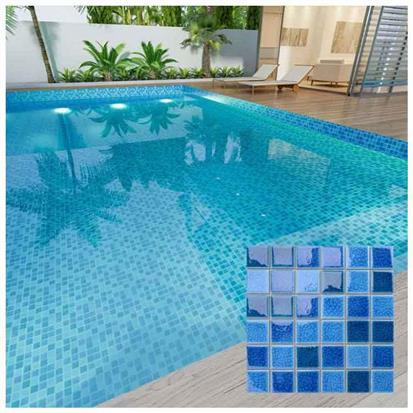
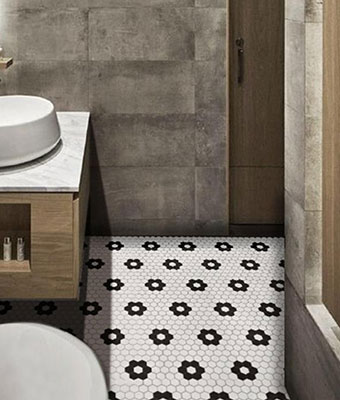
ARWhether you’re adding a colourful splashback tile to your kitchen or laying a floor tile in your bathroom, you need to seal your tiles with grout to protect them from dirt and moisture. But over time, the grout between your bathroom tiles or kitchen will be damaged or will be too old, and can often discolour and erode. If you don’t make the repair, you will get moisture and extra pressure on the tile where the tile could crack. So you should immediately get to work and regrout the tiles of the floor and walls. Through regrouting tiles, you can create a fresh new look without relaying new tiles, which is a simple and cost-effective way to restore your tired looking bathroom & kitchen. So this article will show you some simple steps to re-grout your existing tiles and freshen up your space.
Tools You Will Need For Regrouting Tile
- Grout float
- Flat spreader
- Trowel
- Gloves
- Bucket
- Utility Knife
- Tile Cleaner
Step By Step Guide On Tile Regrouting
Over the years, grout attracts algae and moisture and can become stained and unsightly, if you've cleaned your grout and you aren't satisfied with the results, you may want to remove the old grout and replace it. Here’s how to re-grout tiles:
Step 1 - Choose the right tools for regrouting tile
When grout has dried, it forms into a hard dense material. So you'll need to work vigorously to get it out. There are some tools that could make the job a lot easier. One option is to use a grout remover, it's designed to fit into the wall tile joints and break out the grout. Make sure you wear close fitting goggles before you use this because bits of grout can dry out, open a window or a door to ventilate the area because dust will be in the air. If you can't do this, wear a breathing mask cover the area where the dust sheets. It'll make cleaning up much easier. If you're working over a bath or a sink, put the plug in to help keep the grout out of the drains.
Step 2 - Use blade teeth cut into the ground
You'll need some spare place too as they become blunt over time. To remove the grout, apply some pressure and move the tool, so that the blade teeth cut into the ground. The blade teeth only face one weight so there's no need to move the tool backwards and forwards or up and down is fairly straightforward to use, but it's quite labor-intensive.
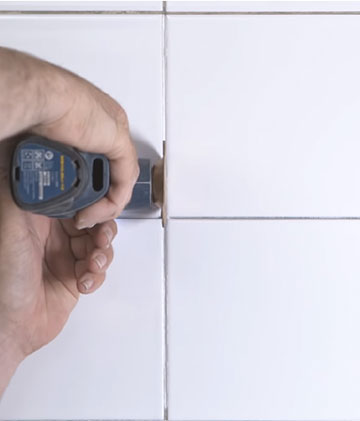
Step 3 - Remove old grout
If you have a large area to cover alternatively, you can use an electric grout remover, it's much less labor-intensive and is ideal over large areas. It has a choice of head and blinds the grout out mechanically to reduce the risk of damage. It's best to start in the middle of the target rather than at the corner, be careful not to scratch the tiles or damage the tile edges. As you work your way into the ground, do the vertical joints first. And then start work on the horizontal to be sure that you don't miss any ground, remove the grout to the thickness of the tile.

Step 4 - Get rid of remaining flakes
Once you've removed the grout, wipe the whole surface over with a damp cloth to get rid of any remaining flakes routers available impounded and ready-mix forms some grouts. A waterproof and a suitable for wet areas such as showers, others are only suitable for dry areas.
Step 5 - Choose the grout type
Grout also comes in various colors, so pick the type and the color that is most suitable for your job. How the grout needs to be mixed on-site to form a creamy paste. If you're using the powder, only mix up as much as you will probably use in 30 minutes as it will begin to dry.
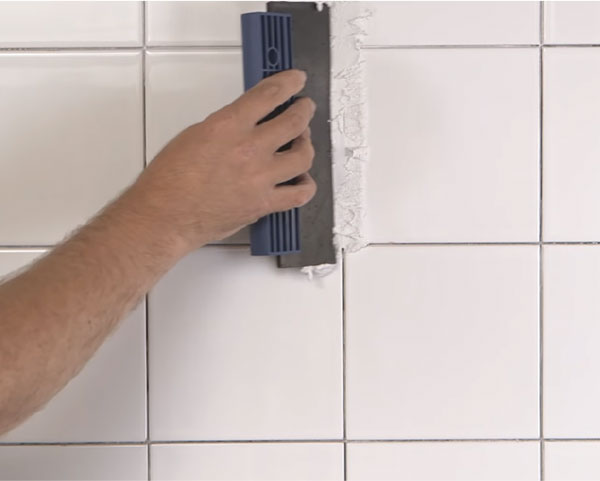
Step 6 - Apply grout
After that time when you mix the grout, be careful not to over mix it as you might create air bubbles to apply the ground, you will need to use a grout float or a brow spreader. If you have a large area to grout, a grout float is your best option, a grout spreader is ideal for smaller areas. For this job, we're going to use a grout spreader to apply the grout, use a flat scraper or a trail to place some grout onto the grout spreader, then use the spreader to work the grout into the joints and use the edge of the spreader to clean the surface of the tiles. Go continue until you have routed all of the joints work at a steady pace, because the grout will start to harden after about 20 to 30 minutes.
Step 7 - Cleaning off remaining excess
Once the grout is in place, clean off any remaining excess with a wet but not saturated tile sponge if you remove any grout accidentally. While you're cleaning you can use the spreader or your finger to add some more let the grout begin to harden for about 20 to 30 minutes and then use the grout finisher to smooth the joints to give a neat appearance. Pull the rounded end of the grout finisher over the joints in an even continuous movement. As the grout dries, a powdery film would appear on the tiles after a few hours. When the joints are dry, use a soft clean cloth to polish off the powdery film, this will leave your tiles sparkling and now you've just replaced a brand new grout wall on your old tile!
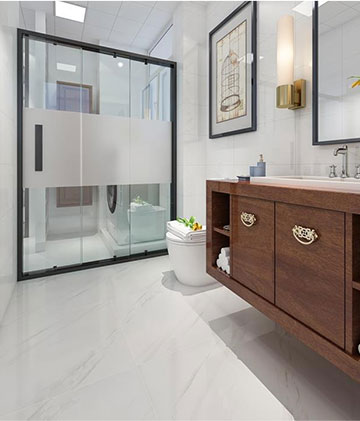
That's all about the best way to remove grout and regrout tile. Be sure to follow these steps and make your bathroom tile & kitchen tile look like new and freshen up your house!


 16
16