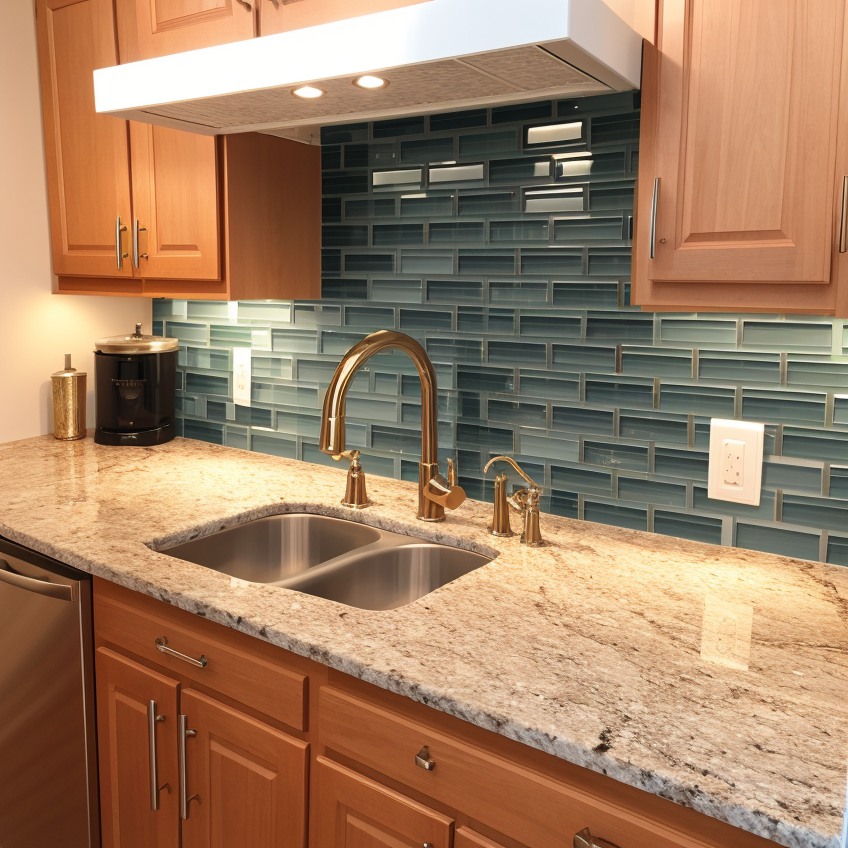
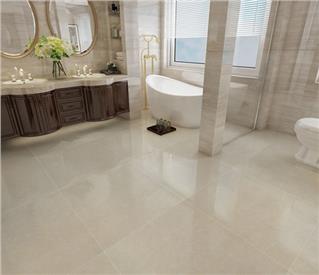
Installing a mosaic tile backsplash can add beauty and style to your kitchen or bathroom while protecting the walls from splashes and stains. Whether you're a seasoned DIYer or tackling your first tiling project, here's a comprehensive guide to help you achieve professional results:
1. Gather Your Materials and Tools
Before starting, gather all the necessary materials and tools, including mosaic tiles, adhesive, grout, spacers, trowel, tile cutter, sponge, and grout float.
2. Prepare the Surface
Ensure the wall surface is clean, dry, and free of debris. If necessary, repair any cracks or holes and sand down rough spots to create a smooth substrate for the tiles.
3. Plan Your Layout
Plan the layout of your mosaic tiles, considering the design, pattern, and focal points. Use tile spacers to maintain consistent spacing between tiles and achieve straight grout lines.
4. Apply Adhesive
Apply a thin layer of adhesive to the wall using a trowel, working in small sections to prevent the adhesive from drying out. Press the mosaic tiles firmly into the adhesive, starting from the bottom and working your way up.
5. Cut Tiles as Needed
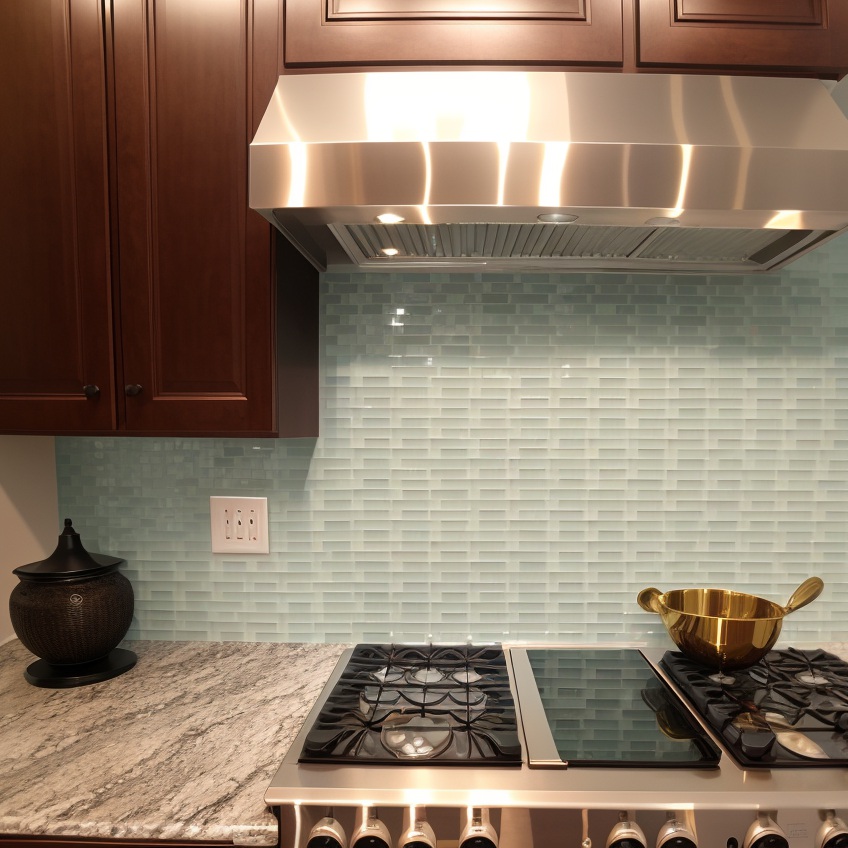
Use a tile cutter or nipper to cut mosaic tiles to fit around obstacles, edges, or outlets. Take accurate measurements and mark the tiles before cutting to ensure a precise fit.
6. Allow Adhesive to Cure
Allow the adhesive to cure according to the manufacturer's instructions before grouting. This typically takes 24 to 48 hours, depending on the type of adhesive used.
7. Apply Grout
Once the adhesive has cured, use a grout float to apply grout to the mosaic tiles, working it into the spaces between the tiles at a 45-degree angle. Remove excess grout with a damp sponge before it dries.
8. Clean Tiles
After the grout has dried, use a clean, damp sponge to wipe away any remaining grout haze from the surface of the tiles. Buff the tiles with a dry cloth to reveal their natural shine.
9. Seal Grout (Optional)
For added protection against stains and moisture, consider sealing the grout once it has fully cured. Apply a coat of grout sealer using a small brush or roller, following the manufacturer's instructions.
10. Final Touches
Once the grout sealer has dried, reattach outlet covers and trim pieces, and admire your newly installed mosaic tile backsplash!
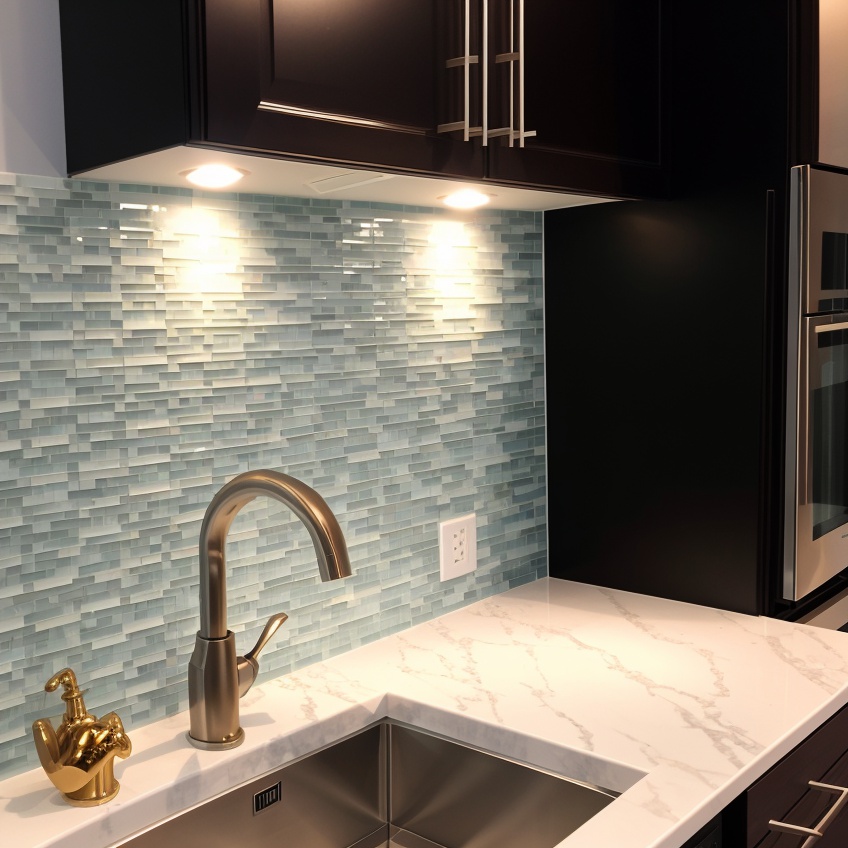
By following these steps and taking your time, you can achieve a stunning mosaic tile backsplash that enhances the beauty and functionality of your space. Don't hesitate to seek professional assistance if needed, especially for complex designs or challenging installations.
 EN
EN FR
FR PT
PT AR
AR
