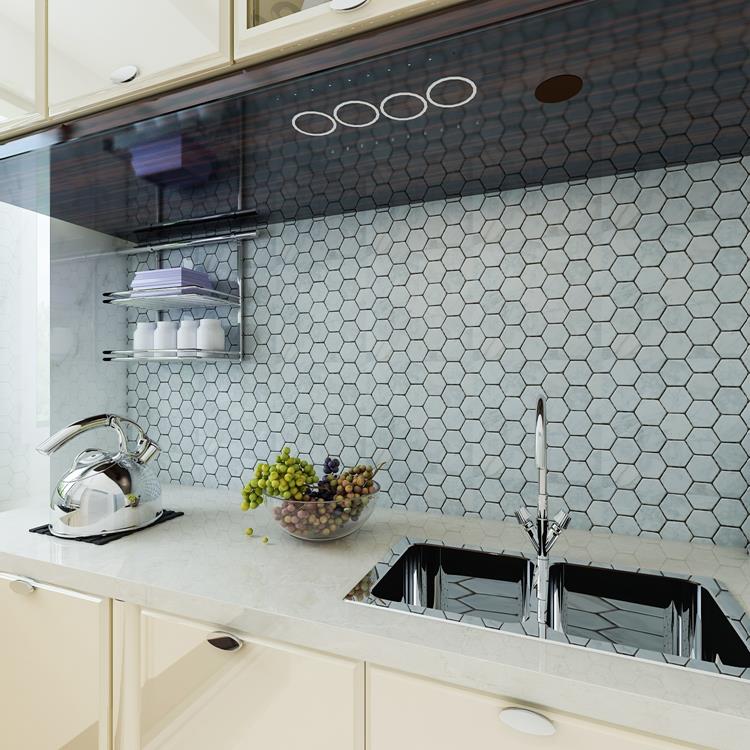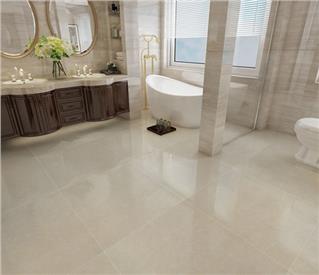
Mosaic tiles are a timeless and beautiful way to add character to your walls. By using mesh-backed mosaic tiles, the installation process can be much easier than traditional tiling methods. In this blog post, we’ll provide an overview of the steps involved in installing mosaics with mesh backing on a wall. Let’s get started!
Gather Supplies and Tools Needed To Install Mosaic Tiles With Mesh Backing
Before you begin any home improvement project, you must first make sure that you have all of the necessary supplies and tools ready for use. When it comes to installing mosaic tiles with mesh backing onto walls, here is what materials should be gathered:
• Tile adhesive (if needed)
• Grout
• A tile cutter or scoring tool
• A wet saw or other cutting device (optional)
For safety purposes when performing DIY projects such as this one – always wear protective gear including goggles/glasses, gloves & dust masks if applicable so no debris gets into your eyes & lungs while working. Additionally, have someone nearby who can help out throughout the entire installation process too - just in case something goes wrong or needs adjusting along the way!
Prepare Your Wall Surface for Installation
Before laying down any type of tile material – it is best practice to prep your surfaces beforehand by removing old plaster paint, etc., cleaning off dirt residue from previous surface layers; repairing cracks/holes before beginning work; applying mortar adhesive where ever needed to be followed by allowing adequate drying time afterward (at least 24 hours).
This step will ensure lasting results due to performance longevity over periods ahead! Following these procedures correctly sets up successful foundation points towards ultimate success upon completion at end stages later coming soon after now…
How to Install Mosaic Tiles with Mesh Backing on a Wall
Installing mosaic tiles with mesh backing can be a challenging but rewarding task. It requires careful planning and preparation, as well as precise measuring and cutting skills for successful results. With the right tools, steps, and instructions you can learn how to install mosaic tile onto any wall without difficulty! Here are some tips on how to get started:
1) Measure the area where you plan to lay out the pattern - Before beginning your project you must measure the space so that your design is properly sized according to its surroundings. You may also want to mark off areas using painter’s tape or draw up a sketch of what you intend your final piece to look like before getting started- this will help give an overall vision of what needs to be done to maximize accuracy while laying down each tile piece by piece.
2) Position tiles accordingly - After transferring over all necessary designs from paper onto walls (if desired), make sure lines remain straight throughout the entire process to ensure evenness between pieces when adding grout later on lastly begin placing Tiles one at a time starting center outward and until finished product takes shape suitably fitting into designated spaces previously marked earlier ahead time.
3) Trim edges & check fitment periodically – While positioning each tile along the way double-check them against markings made earlier making sure they adhere correctly together no gaps are left open sides eventually leading to trimmed edges once fully satisfied with their installation the next step would consist of applying Grout joints which holds material firmly place afterward if needed apply a sealant(optional).
4) Allow drying & finishing touches– Once completed laying down materials allow adequate dry time so that everything sets securely afterward touch base on a few items visually inspecting work checking proper placement tiling itself followed by sealing coating extending longevity wall surface visual appeal to Congratulations! Your masterpiece is complete now go enjoy fruits labor knowing did the job well done!
Tips To Help Make Installing Mosaic Tiles Easier
When installing mosaics tiles many factors need consideration such appropriate selection of adhesive size patterns chosen etc However below list several tips to help simplify tedious tasks involved during the installation process providing a smoother transition finish :
Use a metal ruler/straight-edge tool cutter to score knives
Try grid layout easier follow sections instead of random patches
Layout the Design Pattern first and visualize the effect going to have
Measure twice and cut once to prevent unnecessary mistakes
Check Fitments Periodically ensuring secure fastening
Allow sufficient drying Time allowing cement to set
Finish off surfaces Sealants enhance durability visuals
Clean Areas Routinely minimize build dirt grime
Have Patience and take breaks to avoid eye strain fatigue
Be Creative mix and match colors and shapes to complement room décor
Utilize Proper Tools for safer more efficient working conditions
By following these simple guidelines chances of success greatly increase offering greater satisfaction results Ultimate goal here provide quality craftsmanship through patience and hard work expected outcome rewards are much sweeter!
 EN
EN FR
FR PT
PT AR
AR
