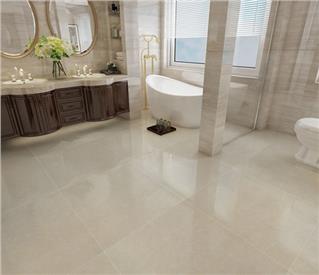
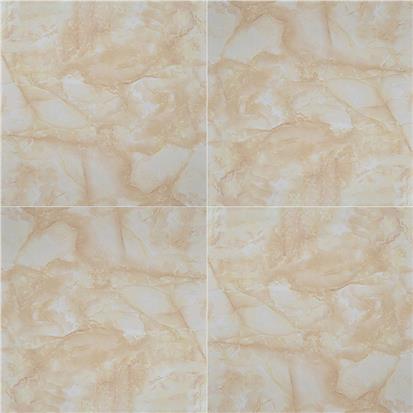
Mosaic tiles are usually smaller ceramic blocks linked together to create a decorative and colorful finish on the pool floor and rim. This type of tile can be arranged to create delicate, intricate designs. When used on pool floors, mosaic tiles should be cleaned regularly to eliminate the build-up of algae, chemicals, and mold.
Step 1: Measure the paved area
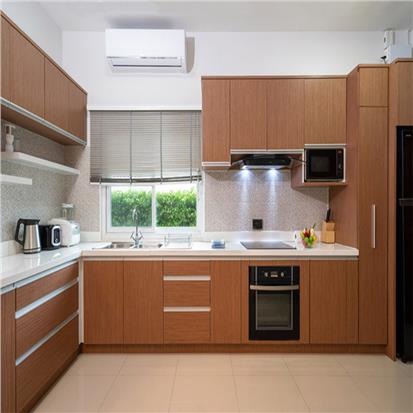
When determining how much tile and installation materials you need, don't guess, count. Know exactly how much you need. Measure your walls to determine you need mosaic tiles. If you only have a portion of the area to tile, multiply by the width and height of the wall to get a square. The number of squares determines how many tiles are needed for the tile back installation. Correct measurements can help reduce tile installation costs. Include an extra 10% of tiles to fill in any small gaps, or as a replacement for damaged pieces. If your walls have irregular sections, more calculations are required, as shown in this guide. You have four separate areas to measure. Mark the "a" section as the space on the left between the bottom of the cabinet and the countertop. Space "b" is the middle part of the wall. Space "c" is the space to the right, between the bottom of the cabinet and the countertop. Space "d" is located below the window. Multiply the width and height of each section, then add up the sums of each section to get the total number of squares of tiles needed to complete the project. Remember to keep 10% of the total as a spare and make sure you have enough spare tile glue and caulk.
Tip: Be aware of sockets and switches when tiling, be sure to take them into account.
Step 2: Prepare the workspace
Remove all utensils and cookware from your work surface. You may need to move the stove slightly away from the wall so you can lay the mosaic tiles easily. For added safety, disconnect all electrical equipment. Lay a layer of cardboard or craft paper on your countertop to protect it from construction. Tape existing countertops or backsplashes and the underside of cabinets to protect these surfaces. Turn off the power to any nearby electrical outlets or light switches.
Step 3: Preparing for wall work
Lightly sand the area to be paved with sandpaper to make it smooth. Clean the walls with mild soap and water and allow the surfaces to dry. Check the wall behind the stove for oil stains. If you have hard-to-wash stains, it should be cleaned with a degreaser or primer. Painted walls can be wiped with trisodium phosphate and lightly sanded. Glossy surfaces are usually sanded and deglazed. Wipe the wall with a soft cloth or damp sponge to make sure the surface is clean and dry.
Step 4: Pre-tiled
Place the tiles on the wall and mark your start and end points. Your starting point depends on the most visible area of the wall. Pave outward from there. A straight edge or level can help you keep the tile flat. You may need to cut tiles to fill your back. Use a tile cutter for simple cuts. If you are cutting natural stone to prevent chipping or shattering it is recommended to use a special cutting tool for tiles.
Step 5: Preparing the tile glue
To prepare tile glue for mosaics, fill a bucket with water in the amount listed on the package. Gradually add the thin powder, mixing well. Let the mixture sit for 5 to 10 minutes, then mix again without adding water. When you're done mixing, so you can lay the tiles right away.
Step 6: Apply tile glue
Start with the 2cm section and apply a thin layer of grout with the flat side of the trowel. Press at a 45-degree angle. This will ensure that the mortar adheres completely to the wall. Using a notched edge, add a little extra mortar to the trowel and comb flat in one direction. Make sure your notched trowel matches the tile you are installing. General mosaic tiles are usually used in conjunction with a 2cm notch trowel. , Tips: When tiling, pay attention to the time to prevent the tile adhesive from drying or crusting. Use a sponge to remove excess tile glue from the tile surface.
Step 7: Paving mosaic tiles
Placing the mosaic begins along the corner of the wall. Adding mosaic crosses helps the mosaic to be neatly laid out. Follow the lines you drew on the wall in order. Gently squeeze the surface of the Hanse mosaic tiles when laying to prevent dents and help the tiles stay in place. If necessary, flatten the tile with a tile glue trowel. If the space between the top row of tiles and the cabinet is greater than 2cm, cut your excess mosaic tiles to fit this space. If the gap is small, consider installing a piece of molding to hide it.
Step 8: Dry and pre-seal the tiles
Allow the adhesive and tile to dry completely. This usually takes 24 hours, but it depends on the tile glue used and the temperature of your home.
Step 9: Clean the tiles and prepare the grout
Clean the excess tile glue that sticks to the tile surface Wipe the tile clean with water and remove all spacers, then apply the grout to the tile surface and gaps. Carefully follow the preparation details on the packaging. Fill a bucket with just the right amount of water. Then, gradually add the caulk powder and mix well. Let the mixture sit for 5 to 10 minutes, then remix without adding water. Repeatedly remixing the grout to maintain consistency.
Step 10: mosaic tile caulk
Once the caulk is mixed, you will have a limited time to use it. Typically, a mixed caulk will last up to two hours. Pave in sections so you can complete an area in 30 minutes. Apply caulk using a caulk float at a 45-degree angle. Work diagonally. Use a caulk float to wipe away excess grout at a 90-degree angle. Using a damp sponge, remove the caulk from the tile surface in a circular motion and allow the caulk joint to fully form. Rinse the sponge repeatedly with clean water. Repeat this process several times. Limit water usage to avoid flushing grout joints. After about 3 hours, you can remove the last coat of grout. Wipe the tile surface with a damp cheesecloth or sponge.
Step 11: Seal Tiles
After the caulk is completely dry, usually 24 hours to 3 days later, apply a caulk sealer to protect your back from contamination. After the sealer is dry, you can add a small amount of latex filler to the bottom of the backsplash and let it rest against your countertop. Replace appliances and cookware, and restore power outlets. To keep the back smooth, give it an occasional wipe with a non-acidic kitchen or glass cleaner. Installing mosaics in your kitchen is a great homeowner do-it-yourself project.
 EN
EN FR
FR PT
PT AR
AR
