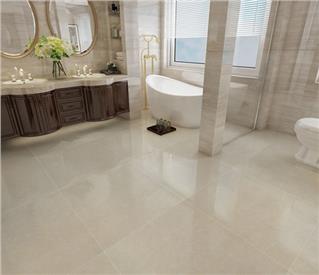
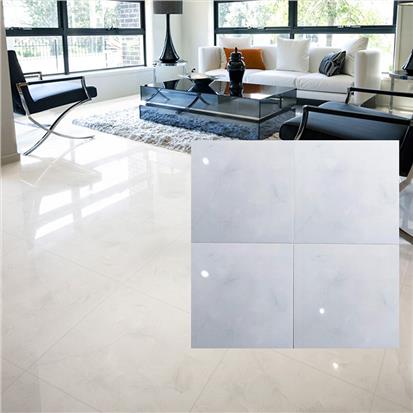
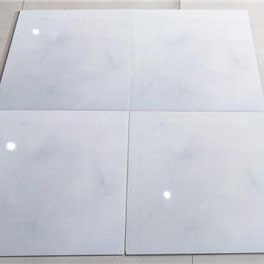
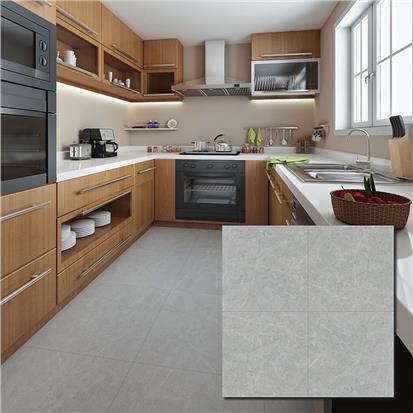
When it comes to trends in floor tiles the wood look tiles and the larger format tiles are definitely the direction things are continuing to go. If you're currently out shopping for wood look tile or large format tiles, at hanseceramictile.com, we are going to give you a few key factors for consideration in both the material selection and installation process. If it's been a little while since you've been out selecting and you haven't worked with these types of products before, here we are in-depth the everything you need to know before buying wood look tiles and large format tiles.
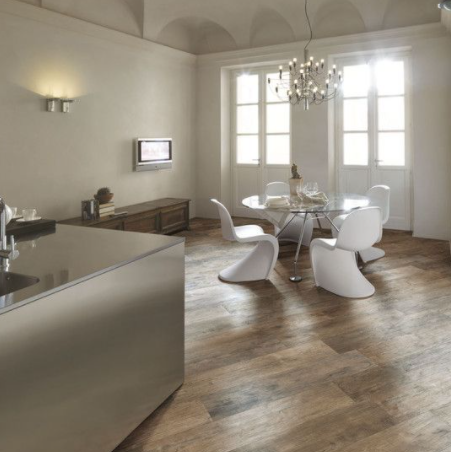
How To Choose & Install Wood Look Tile Or Format Tile
When it comes to these wood tiles and large format tile is to remember first of all that whether you're talking about ceramic or porcelain, we're talking about clay that's fired in a kiln and it's a manufacturing process and no manufacturing process is 100 perfect. There are always going to be some inconsistencies and imperfections. As we move from lower-end products to higher-end products, we expect to see less of those inconsistencies and imperfections, but they're going to be there.
Making sure that your tile is actually square, if we have an 8 by 48 inch tile does the one end of it measure the same as the other end. Because in some cases, the products where it's supposed to be eight inches and one end is right at eight and the other is eight and a sixteenth of an inch. So it's actually not perfectly square and that has to somehow then be accounted for on the installation portion of the project. Generally, that means wider grout joints to try and split the difference and actually make that product work.
Some of the other key elements that we'll notice in a lower end versus the higher end are the quality of the image, the texture, the number of faces, how much variation is in that product, and how flat that tile is. You might be surprised to know that none of these tiles are perfectly 100 flat. In the manufacturing process along with the fact that no floor is perfectly level throughout the entire home.
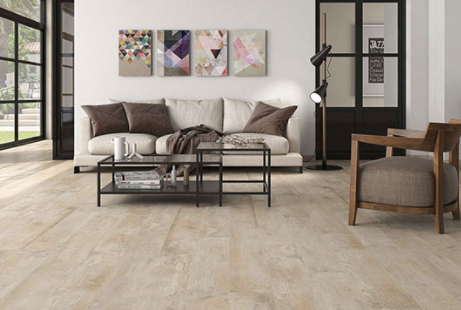
The selection part's easy, we can start by making sure that we're buying a quality tile that we're looking to make sure. Does this product measure out consistently just in the sample or the products that we can physically see when we're shopping and ask whoever it is that you're buying it from what their experience is with certain products because a lot of times they will be very upfront with you and say when we deal with this particular product we never seem to have issues? They might say now this particular product we're limited in how we can install it, because of the imperfections that tile has. You want to make sure you're dealing with somebody that's upfront with you about that.
In addressing the crowning problem specifically one of the key things that we want to make sure we do is follow most all manufacturers' directives and not install these tiles on a 50 X 50 offset. When we're installing them out onto the floor, we don't want the tiles where we have one end of a tile that meets the next row at the halfway point of that adjacent tile. We want them staggered pretty much at a maximum of about a one-third offset. We can still do somewhat of a random install lay on these products, we just don't want to incorporate that 50 x 50 type of split between the products. Any of these products where the end of one tile is at the halfway point of the tile in the following row and the reason for that is so that we don't put the lowest spot of one tile next to the highest spot of the adjacent tile.
When it comes to the selection of these larger format tiles, the most important part is picking the installer instead of picking the tiles. A great installer can take a relatively inexpensive tile and make a beautiful floor out of it. And a bad installer can take a very high-end tile and make an absolute mess of your floor. The best way is to use different setting materials to install these, where we can get away with the typical polymer fortified thin-set for a 12 by 12 tile with a product. You’d better use what's called the lht large heavy tile or lft large format tile mortar, it gets troweled on a little bit thicker. So we have more room to actually work the tile into the bed and give ourselves the best opportunity to flatten that floor out during the installation process.
Use for a lot of larger format tiles different types of spacers and these spacers are actually designed to help create a leveled floor as well. But those products cost more when doing the installation process when we can get away with more traditional types of setting materials for more traditional types of tiles. If you don't spend the additional money on that, you are more likely to be disappointed with the results. Don't let an installer tell you that they've been installing tile for decades and they don't need any of those things, because they know what they're doing. They may have been installing tile for decades but a lot of these products have not been out that long and the tile manufacturers themselves are the ones telling us this is what needs to be used to get the desired results. So our best possible thing to do is follow those directives.
A quick note on another element that's kind of changed over the years with tile floors is the grout. You're no longer limited to just these cementitious grout products. There are a lot of products now that are somewhat epoxy-based and an emulsified product, these give us a much greater ability to have consistency in the grout color as well as more inherent stain resistance in the product. But they also have to be applied a little bit differently than traditional cementitious products, especially if you are dealing with the wood-look tile that has a lot of texture on it. These newer grout products have to be applied a little bit less at a time and the cleanup needs to be done quickly on these or we're much more likely to get left with grout haze where we actually get a film of the grout and it can become incredibly difficult to get off and very expensive and time-consuming. A lot of times you don't even notice it right away and so by the time you can actually address it, a lot of damage has been done that you're then trying to go in.
Another thing that you need to make is sure the installer is comfortable with using it and they know that they're going to be dealing with it in smaller areas at a time. They can't just go through grout a whole floor and then go back and start the cleanup from the beginning. Because by the time they get to it, they're probably going to have a lot of trouble getting that off.
One of the other great things about these larger products is that we have a lot more of the surface area that's covered by the tile leaving a lot less grout involved in the process. Most people that are their biggest complaint with these tile floors is how they keep their grout looking clean. Making sure that we've got floor leveled that we're installing these with the proper materials, we can get as tight as a sixteenth of an inch grout joint with a lot of our square edge products. With most of them now we can get away with an eighth of an inch grout joint again if everything else is being done right. Definitely make sure that you consult with your installer and whoever's providing your tile so that you know what their recommendations are for that minimum grout joint, but that's again a great benefit to these products.
 EN
EN FR
FR PT
PT AR
AR
