EN
EN FR
FR PT
PT AR
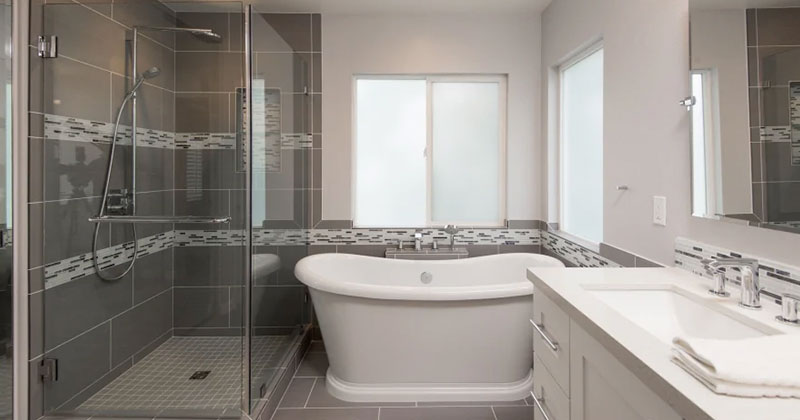
ARDue to the special environment of high temperature and humidity in the bathroom shower, special attention should be paid to the decoration and daily maintenance. Tiling a shower is a DIY project that you can usually accomplish in a few days with the right tools. Pick your shower tile and use this guide for step-by-step instructions on how to tile a shower wall.
How To Lay Tiles On Shower Wall - Step By Step Guide To Tiling Shower Wall
1. Check the stud walls for plumb and levelness
If you are going to be tilling a shower, especially the shower in an older home, make sure that the stud walls are all nice and plumb and level. Because no matter what type of waterproofing board you put on those walls, if the studs aren’t level and plumb, it’s going to create problems for your cement board.
2. Apply waterproofing membrane
Always make sure you put something waterproof behind your tiles and on your stud walls. Any area that will be exposed to lots of water during this how to tile a shower wall task should be coated with two coats of a brush-on waterproofing membrane (available at some home centers and all tile stores). Use disposable brushes and let the first coat dry thoroughly before recoating. For extra protection in your tile shower, also coat all of the screw heads in areas that’ll get deluged. As with the thin-set, try to avoid big buildups.
3. Plan the layout
Plan the layout of your tile. And the reason why you want to do that is you don’t want a sliver of tile at the ceiling. That looks really bad. So you don’t need a fancy computer program to do this. Sketch it out on a piece of paper. You can use a notebook and a pencil. And you really want to have that plan in place for all three walls, or the two walls, or however many walls in your shower so that when you go to dry cut and fit your tile, it’ll look good.
4. Opt quality tiles
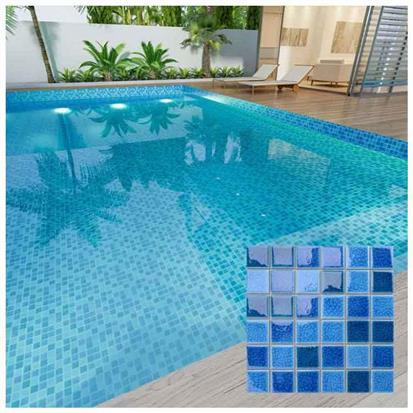
Choose a quality tile for shower wall.If you’re going to the home store and that your only option, we would recommend that you purchase a porcelain tile that’s the same color throughout. The reason why is if you purchase a clay-based tile and you accidentally chip it while it’s set on your waterproofing material, that clay color is going to show through the tile, and that’s not a good thing. So purchase a quality porcelain tile that's the same color throughout. And make sure that there isn’t any cupping to it, that all four sides are nice and straight.And this will help eliminate lippage when you put the tile on the shower wall.
5. Use tile leveling system for large format tile
A tile, for example, that’s 12” x 24”, you may want to invest in a tile leveling system.We like a lot of different ones. There's LevTec system. There’s the Tuscan leveling system. There are many, many different ones out there. But you absolutely have to use a tile leveling system.It’s just that it might be a good option for you.
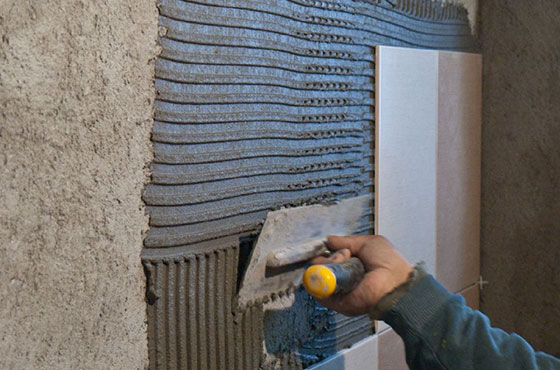
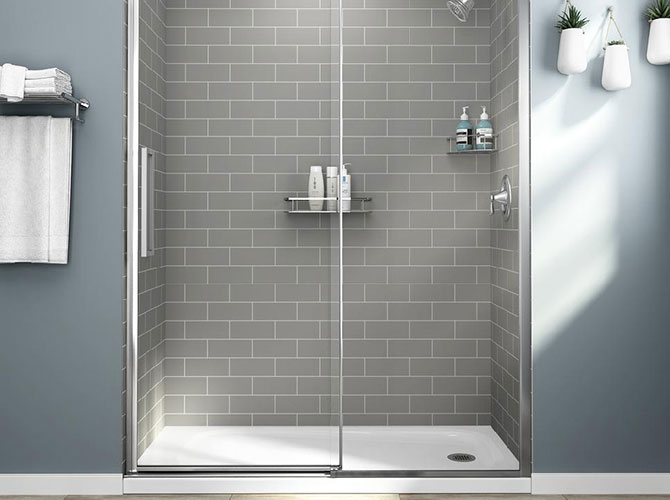
6. Install shower wall tile
Before applying your tile to the wall, decide on the layout and orientation of your tile by positioning the tiles on the floor. Install full-piece tiles first, and fill in with cut pieces as you go or install them at the end. If you wait to install the cut pieces, use a notched trowel to scrape the thinset from the wall so it doesn't dry before installation. When installing cut pieces, apply the thinset to the back of each shower wall tile.
7. Small grout joints
Use the smallest grout line possible for your shower tile wall. So the smallest grout line that you probably should be using is the 1/16of an inch. By the time you get everything in, that 1/16” is going to turn into 1/8” sometimes. So keep those slots in your head as you’replanning out your wall tile in the shower.
8. Apply grout
Once the bathroom tile has set and cured for 24 hours, remove the tile spacers. Mix up your desired grout color according to manufacturer directions. Then using a runner float, apply grout in small areas at a time. Drag the float diagonally to work the compound into the joints. Let the compound dry for 10 minutes then wipe away excess with damp sponge, being careful not to wipe it out of the joints. Finally, complete the grout, working upward in small sections. Allow the grout to dry then remove the haze from the tiles with a haze remover. After three days, seal the grout and then add silicone caulk to the corners, edges and floor joints of the shower.
These shower wall tile installation tips are great for homeowners who want to remodel a bathroom or shower themselves. We also think it’s good for new contractors who want to learn how to tile a shower wall, make extra money, be more efficient, and have a quality job they’re not going to have call-backs on. I really hope that these quick tips help you out with your bathroom remodel.


 16
16