EN
EN FR
FR PT
PT AR
ARIf you've been following our news lately, we've been showing how to build a hexagon tile curbless shower floor in a basement bathroom and we’ve told you a lot of different tips to help you get to this phase of tiling the bathroom floor. Today, we’ll introduce you 7 specific tips for installing large format tile on concrete. Avoid cracked tiles, ugly grout joints, and common mistakes.
How To Install Large Format Tile On Concrete - 7 Tips For Large Tiles Laying In Bathroom
1. Waterproof The Floor
Using a liquid waterproofing membrane or an isolation membrane. But in this particular instance, we use shower seal and completely waterproof the entire floor, using a 3/8 inch nap roller, we also applied fabric along the perimeter of the drywall and then embedded that in the shower seal. So tip number one is the completely waterproof a bathroom floor, if it's adjacent to a curbless shower that's super important.
2. Plan Layout And Pattern
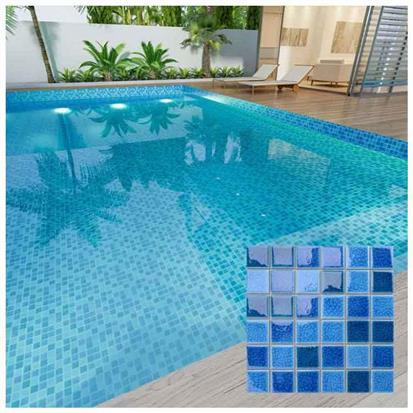
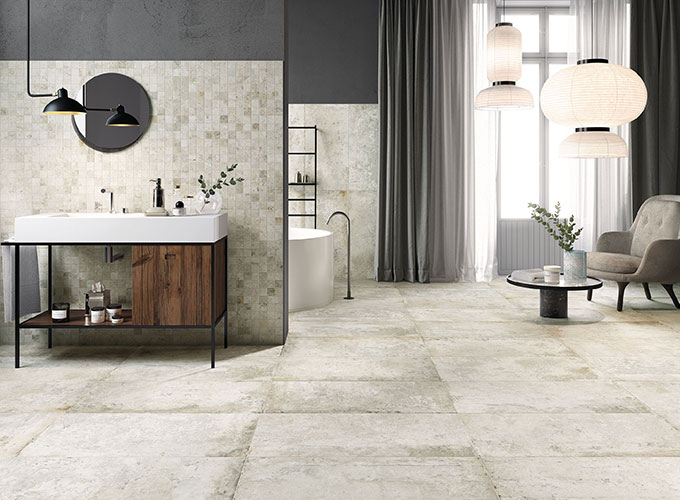
Plan the layout and the pattern of the bathroom floor. For example, in this bathroom we ended up using 1200x2400mm tile now because this is a large-format tile, it's recommended to offset them by thirds. We also planned our layout such that we knew that we could pretty much use a full tile on either side of the shower pan, so we knew that in advanced and we started in the corner.

3. Start At Shower
If you have a curbless shower, this ensures that all the tiles will be lined up straight and even along that entrance and that'll set you up for success when you have to tile the shower pan.
4. Leave 1/4 Inch Gap At Perimeter Of The Bathroom
The reason why you need a quarter inch gap between the tile and the drywall is for expansion and contraction order homes in particular tend to breathe and you don't want your tile to be butted up against the drywall because this could cause tenting of the tile and cracks.

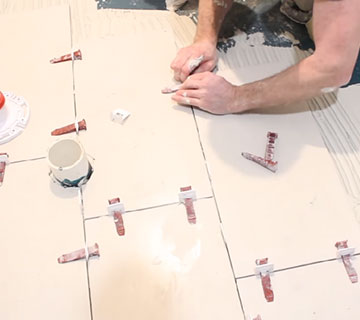
5. Use Tile Leveling System Like T-Lock
We use the 1/16 inch clips we, set those under the tile and then we cinch them up against the tile using the wedges and you can use pliers or you can use your hands to secure the tile with the t lock. The reason why we like tile levelling system for large format tile is the fact that it keeps the tiles nice and flat and also gives you even grout joints.
6. Clean Joints
As you're setting the tile, clean the joints with a brush or even a dull knife and a sponge as you're cleaning the tile when you're setting it. This makes the next day a lot easier when you have to grout it.
7. Directionally Trower And Backbutter
The reason why this is good is that when you compress the tile up against the thinset, you'll be expelling the air in between the ridges and getting at least 95% to 100% coverage on the tile with the thin set, and a bonus tip is to actually back butter the tile with the flat side of the trowel and this will get plenty of thin-set on the tile such that if you do compress it and your thin set is mixed properly, you'll get that 95 to 100% coverage which is required by industry guidelines in a wet area.


 16
16